One powerful tool for achieving visual storytelling is the before-and-after slider. This interactive element allows you to showcase dramatic transformations, compare different options, and provide a more engaging experience for your website visitors.
In this guide, we’ll explore the benefits of using a before-and-after slider on your website, and provide a step-by-step tutorial on how to create one using the Depicter plugin for WordPress. Whether you’re a business owner, marketer, or blogger, this guide will equip you with the knowledge and tools to enhance your website’s impact and drive results.
What Is a Before-After Slider?
A before-and-after slider is like a magic trick on your website! It lets people see how something looks before and after a change. For example, you could show how a product looks in different colors or how a service, like makeup or landscaping, can make a big difference. It’s like trying on something virtually, helping people decide if they like it. Plus, it makes your website more fun and interesting. So if you want to show how your products or services can change things, a before-and-after slider is a great way to do it. You could also use it to compare different versions of the same product or to show the progress of a project over time.
Why Should You Use the Before & After Slider on Your Website?
A before-and-after slider is a powerful tool that can make a big difference on your website. It helps people visualize changes and make informed decisions. For example, if you’re selling a hair product, you can show how it transforms hair from dull to shiny. Or, if you’re a contractor, you can showcase the dramatic difference your services can make to a home. This visual evidence can be more persuasive than words alone, leading to increased conversions and sales. Plus, sliders can make your website more engaging and interactive, keeping visitors interested and exploring your content.
- Visual persuasion: Showcasing dramatic changes can be more convincing than words alone.
- Informed decision-making: Helps visitors visualize the results and make better choices.
- Increased conversions: Can lead to more sales and sign-ups.
- Engaging and interactive: Makes your website more interesting and enjoyable.
- Effective product comparisons: Allows for easy side-by-side comparisons.
- Showcase project progress: Demonstrates the evolution of a project over time.
- Improve user experience: Provides a more interactive and engaging experience for visitors.
- Boost credibility: Can enhance your brand’s reputation and trustworthiness.
How to Create a Before After Slider in WordPress with Depicter?
In this article, we have provided a brief overview of this topic. For a comprehensive guide and more detailed information, please refer here:
Installing Depicter
Depicter is easy to install. Just go to the ‘Plugins’ menu in your WordPress dashboard, click ‘Add New,’ search for ‘Depicter,’ and click ‘Install Now.’ Activate it, and you’re ready to start creating and customizing your Sliders.
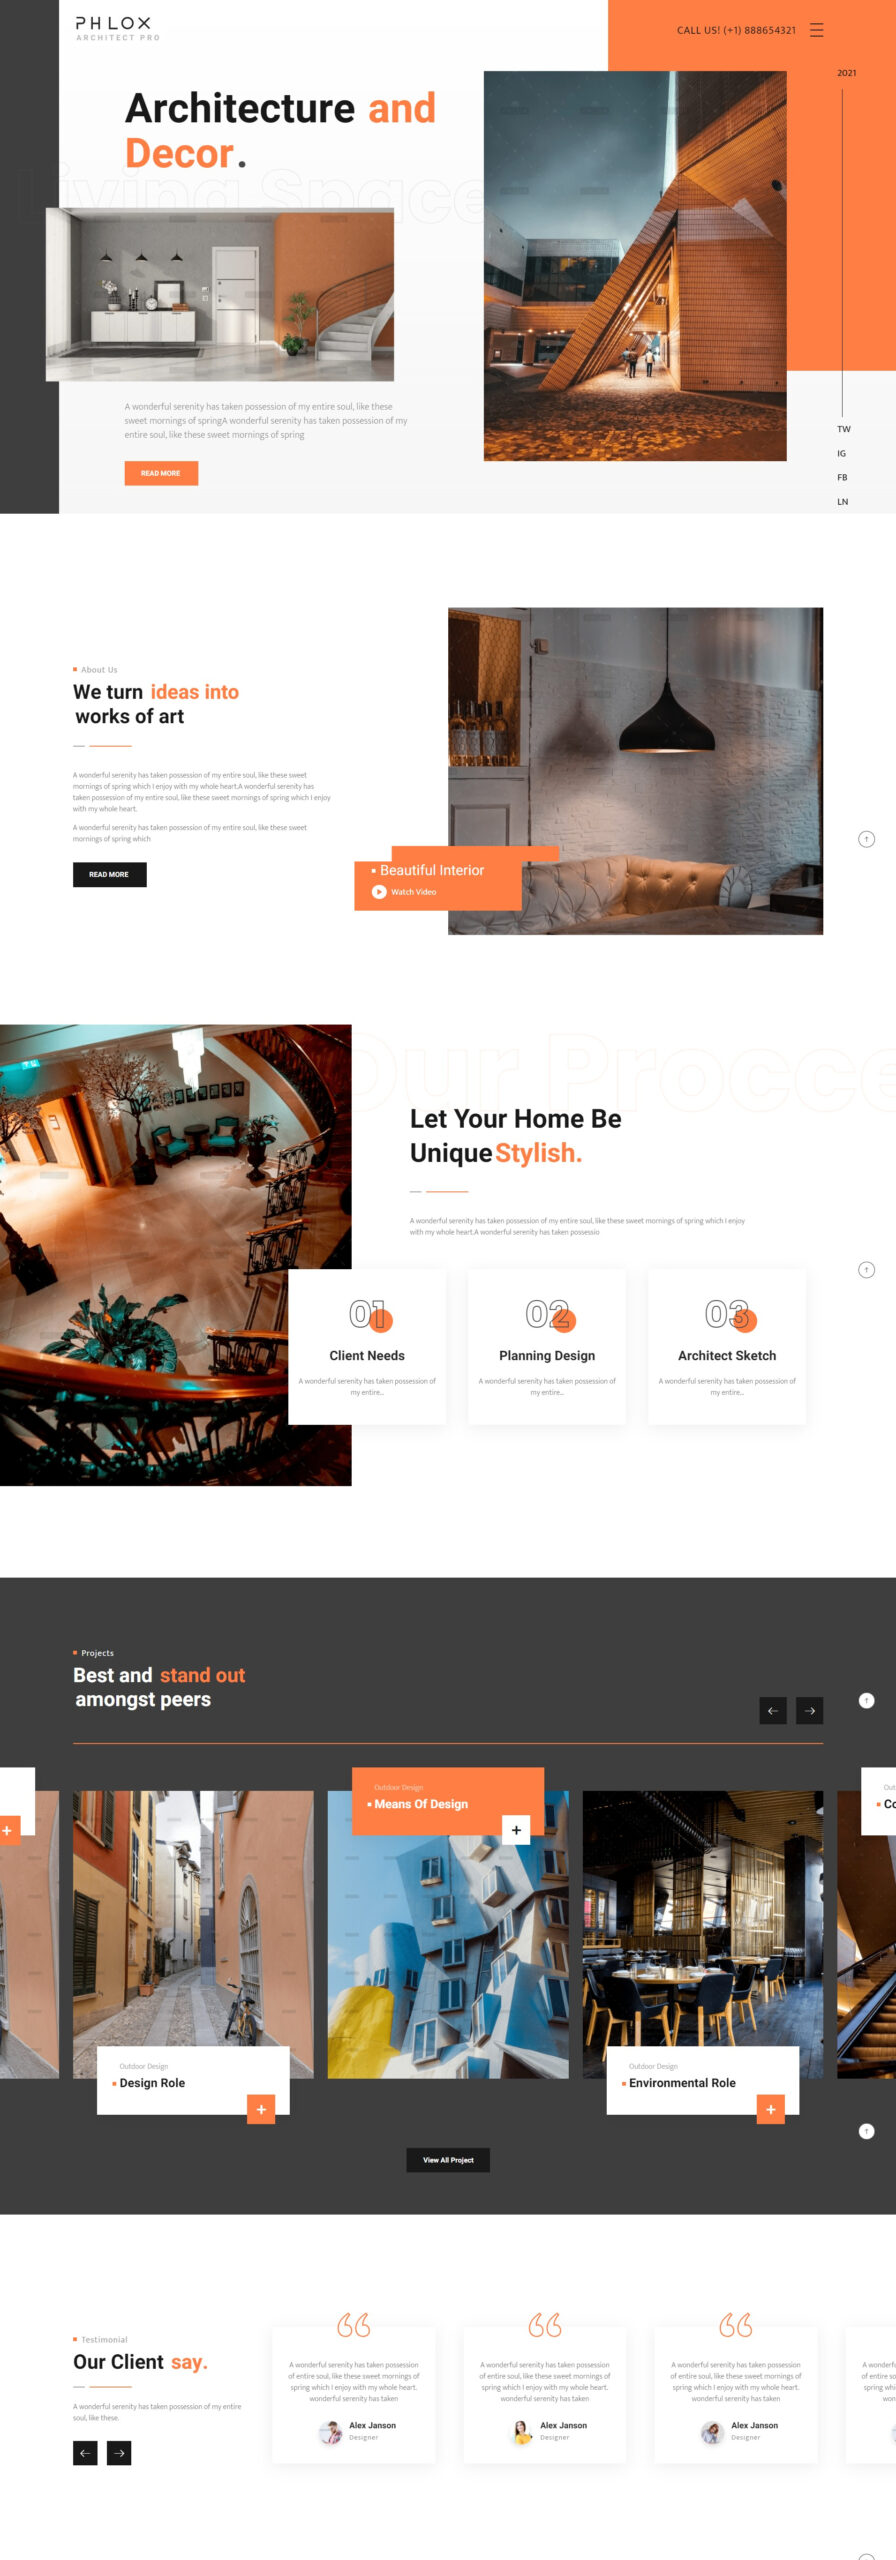
We have an architecture website built via the Phlox theme. We are going to add a Before & After element after the first section. Let’s do that.
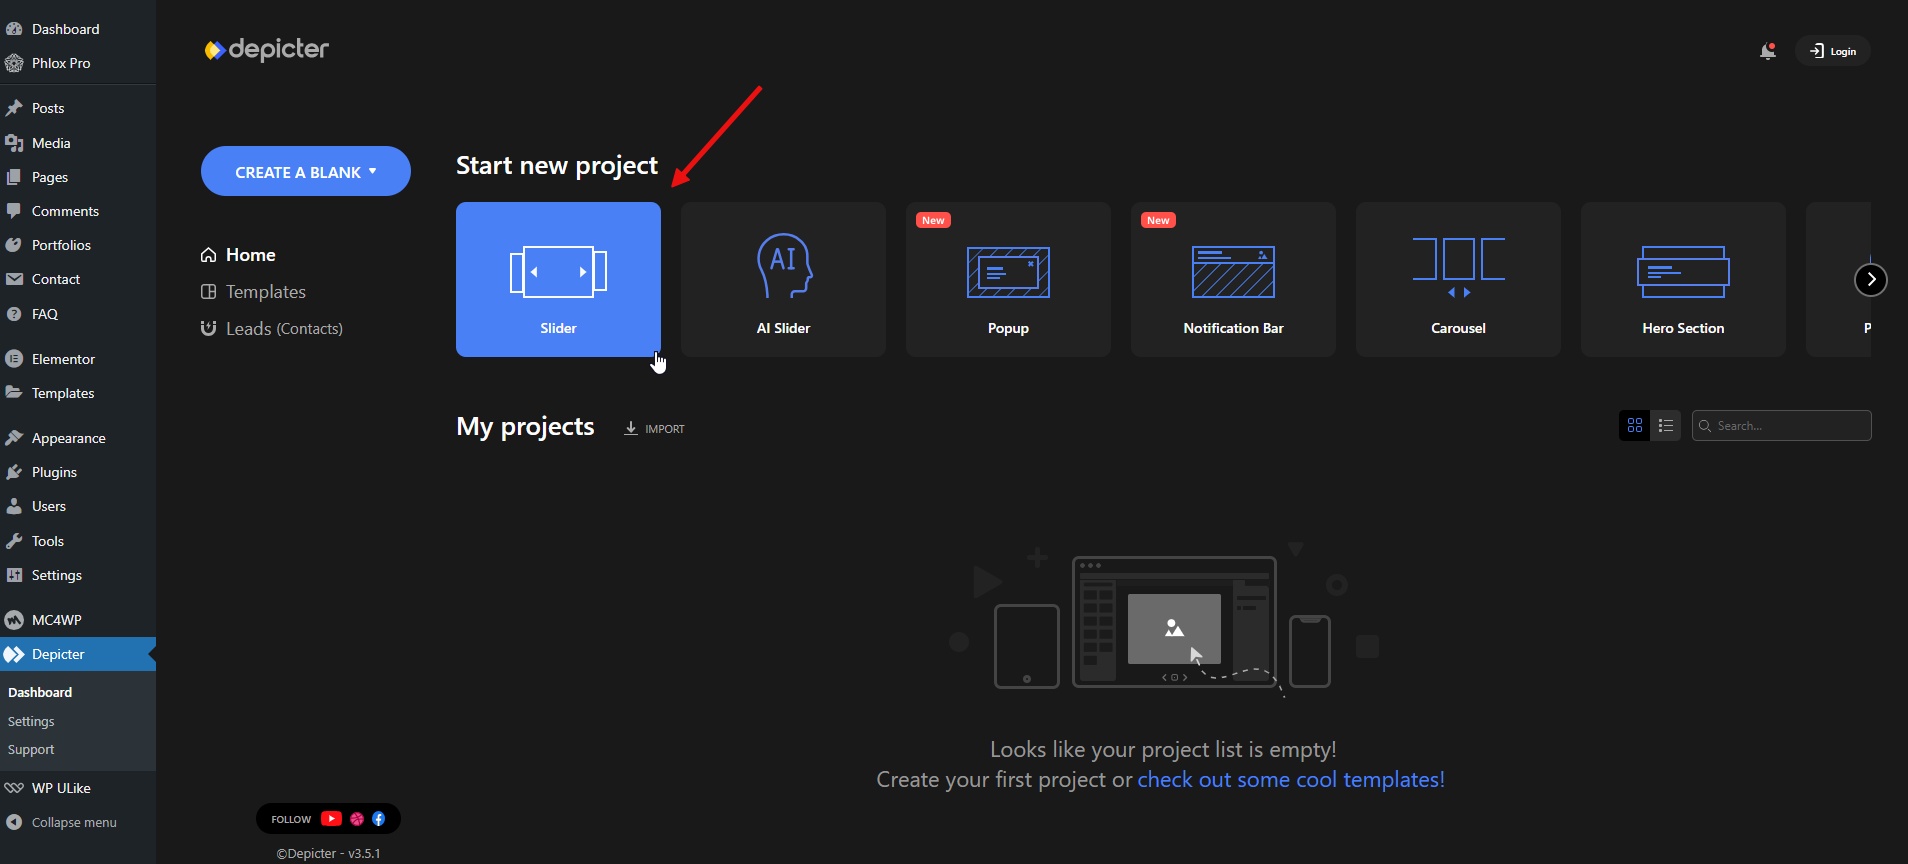
To make things easier, we’re going to use a ready-made template. Once we’re in the Depicter dashboard, we’ll head over to the slider section.
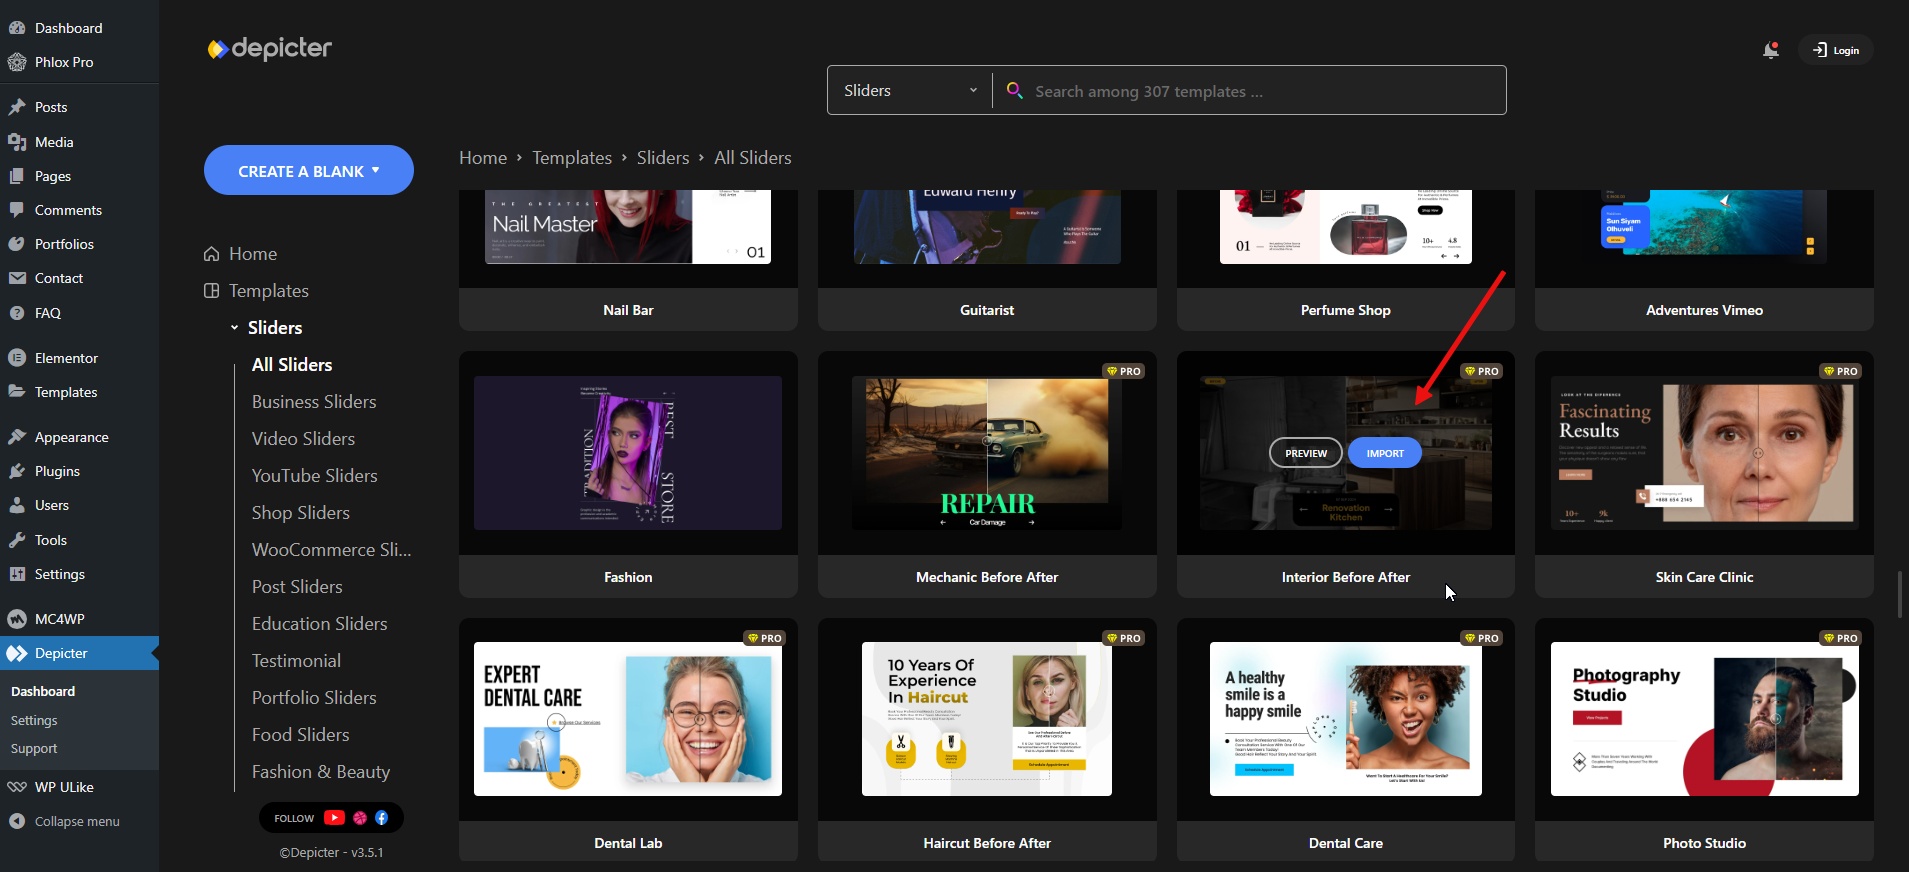
After that, we’ll pick from one of the ready-made before & after slider templates and hit the ‘Import’ button to add it to our projects.
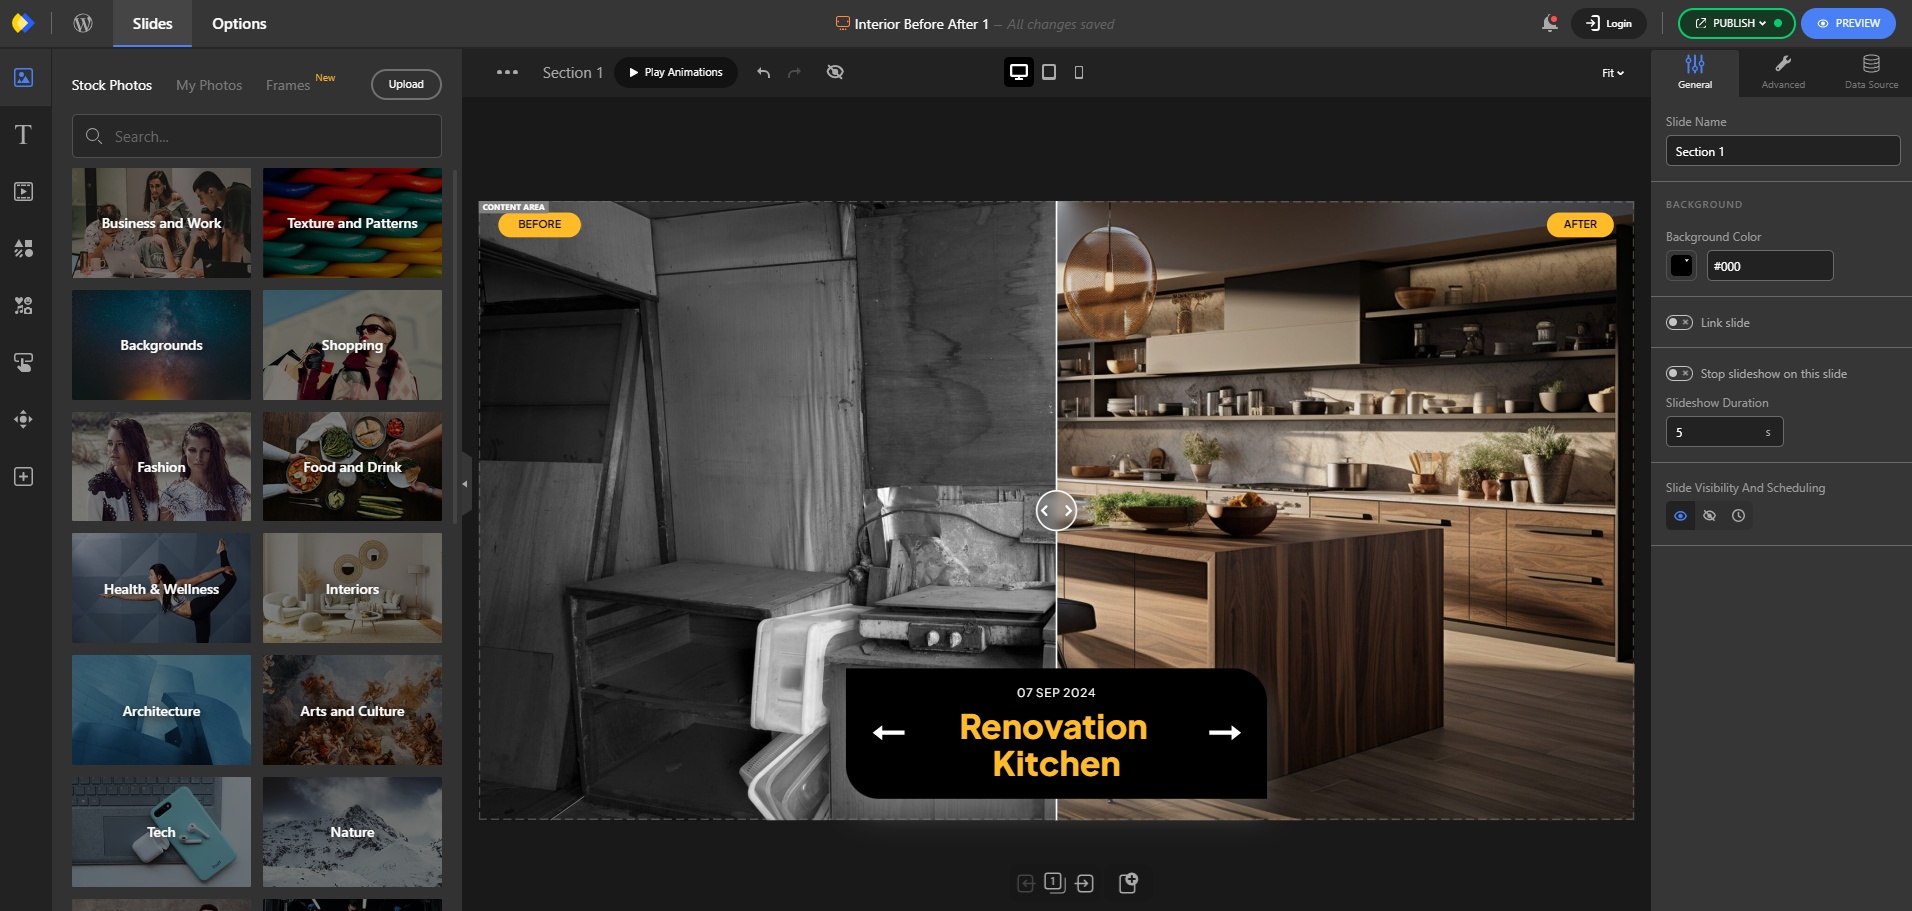
After a few seconds, we’ll be redirected to the Depicter editor where we can customize the slider to our liking. To learn more about how to customize a slider from start to finish, you can watch this video.
Finally, we’ll need to save and publish the slider before adding it to our page.
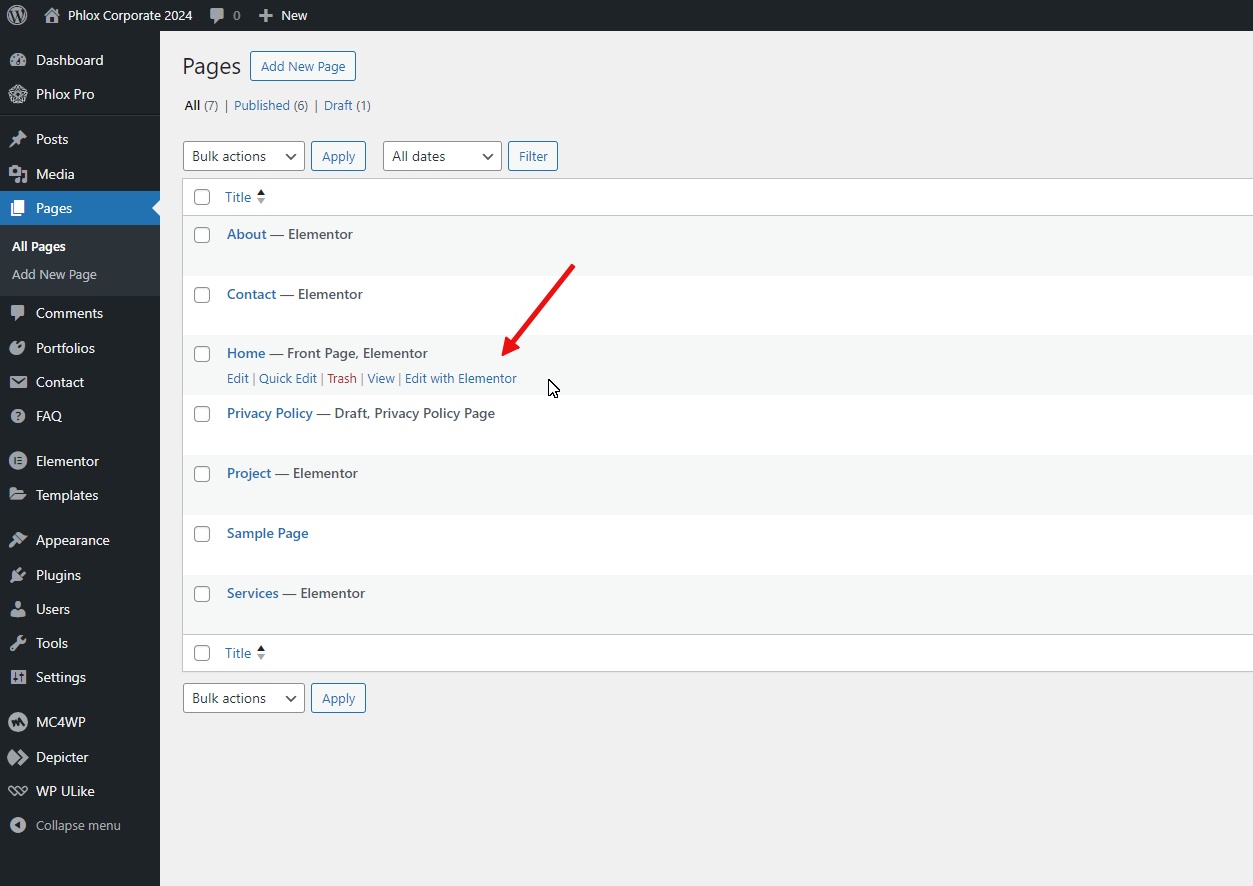
Go to the Pages menu and click ‘Edit with Elementor’ for the page you want to work on which in this case is the Home page.
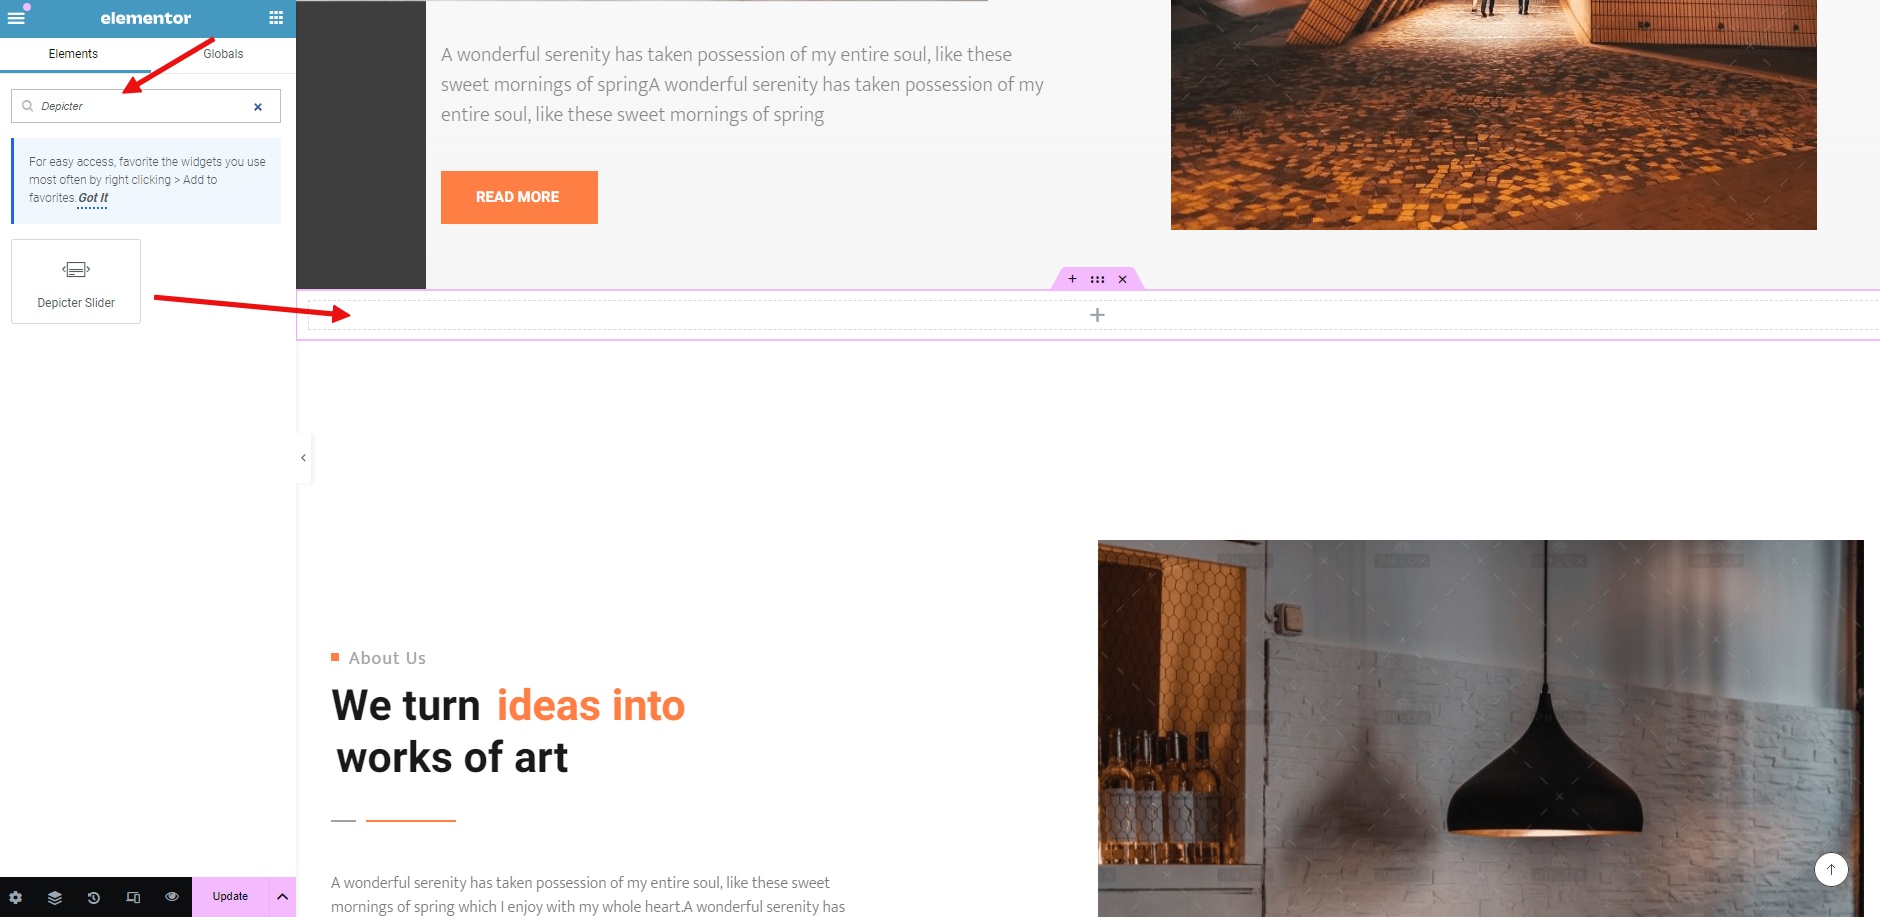
After the page loads in Elementor, find ‘Depicter’ in the widget list and drag and drop it where you want it.
Next, we’ll select the desired slider from the list and then update the page to reflect the changes.
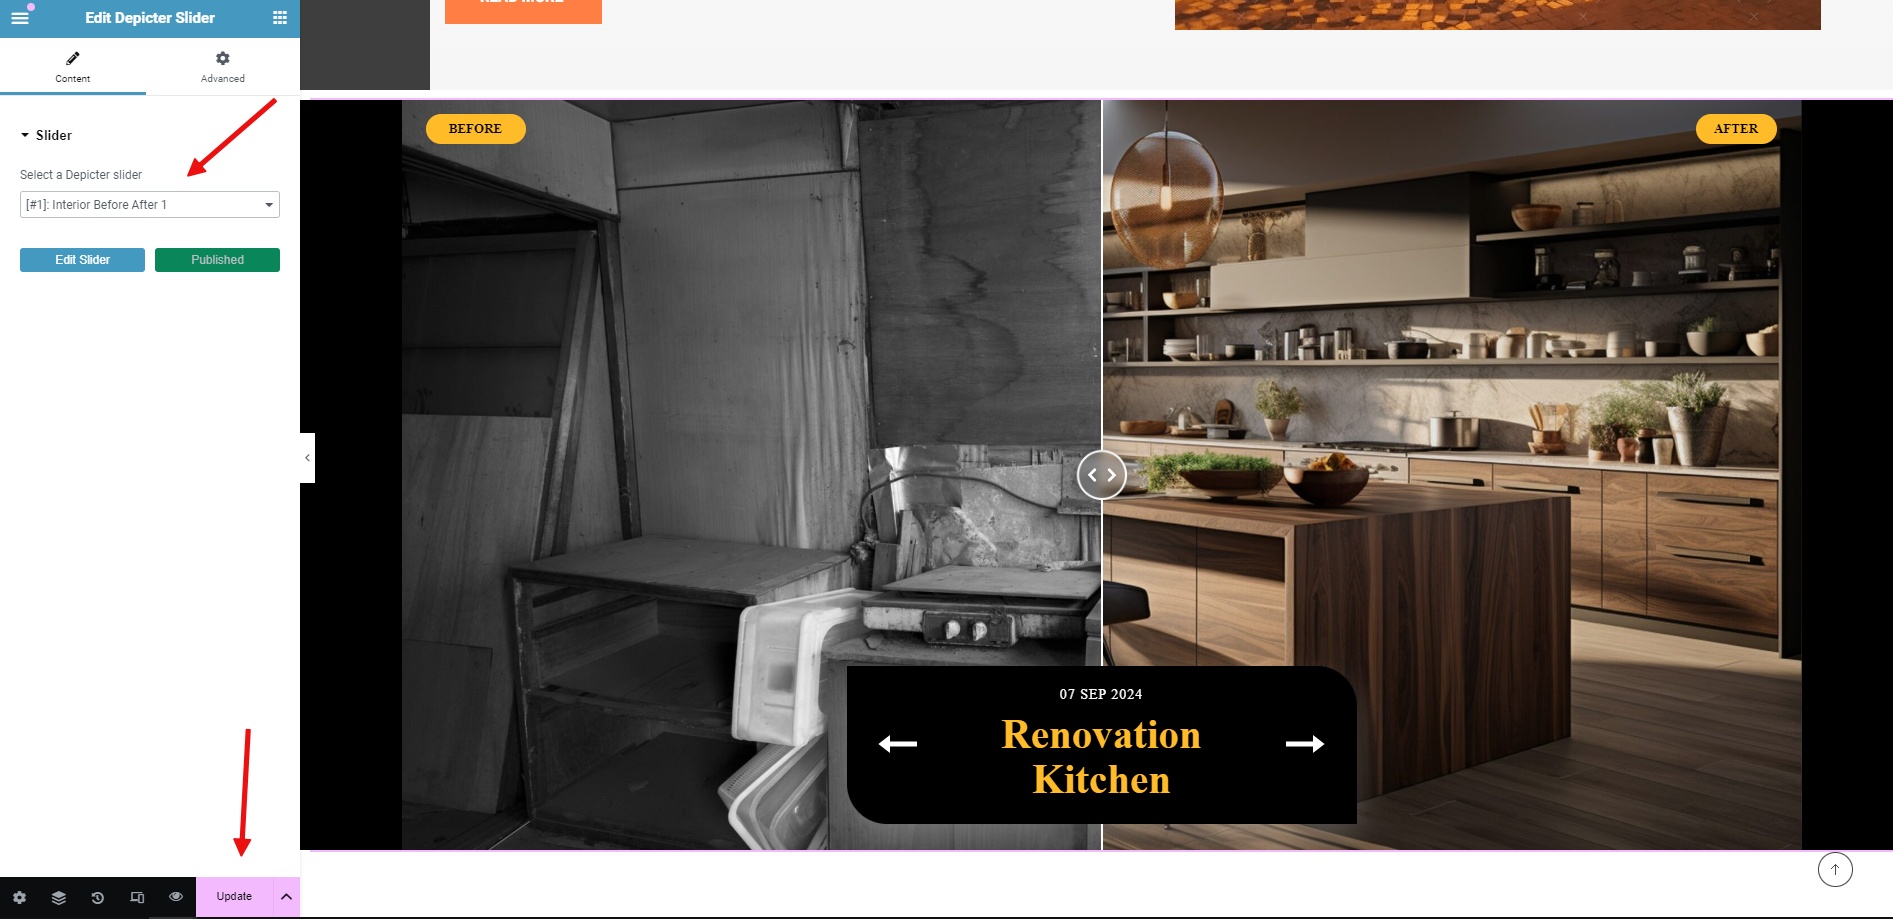
It’s that simple! Our element will be added to the page, and the final result will look like this.

Conclusion
By incorporating a before-and-after slider into your website, you can unlock a world of possibilities. From showcasing product transformations to highlighting project progress, this versatile tool can elevate your content and captivate your audience.
Remember, the key to a successful before-and-after slider lies in choosing high-quality images, crafting compelling captions, and customizing the design to match your website’s aesthetic.


